Showing posts with label painting. Show all posts

Friday, 20 December 2013

Fineliner and home-made watercolours


If you're looking for a children's art activity that's absorbing and yields beautiful, frameable results, I have just the one: fineliner drawings painted over with liquid watercolours. R came home the other day desperate to do 'water paintings' like the ones they had been doing at kinder, and luckily I had some liquid watercolours ready to go (I made my 'watercolours' from old markers - see this post for details of how I make them; it's very easy). R sat down at the table with fineliners, paper and paints and didn't stop drawing and painting for the next couple of hours. Her brother soon joined her and spent a long time drawing a highly detailed picture of our garden and shed, which inspired R to go outside to scout around for trees and flowers she could draw.

I am so in love with the results of the watercolour session that I've already bought frames for a few of the paintings. The combination of detailed fineliner drawings with glorious colours melting into each other is just beautiful.

Artist at work
Mexican paper flowers hanging in the loungeroom
Some of R's paintings laid out to dry
Silver birch tree and house, by K

Bottlebrush tree

In a moment of inspiration, I persuaded R to do a few tiny pictures to use for making cards. When they were dry I glued them into pre-cut 'frame' cards and put them aside to accompany our end-of-year teacher gifts  - you may have seen them next to the lavender bags we made in this post.

This watercolour session provided literally hours of enjoyment for K and R, and I can't wait to frame some of their work and put it up for us all to enjoy.

Thursday, 5 September 2013

Playgroup art & craft: Recycled marker watercolours

I get very annoyed when I arrive at Playgroup, open the art supply cupboard and see this:


Really, what is so hard about putting lids on markers after using them?!!

Fortunately, this cloud has a silver lining. For some time now I've been saving these lidless, dried-out markers so I could try making the recycled marker watercolour paints that I've often come across online. And I'm pleased to report that they really do work! All you need to do is sort your old markers by colour and put them to soak, tip-down, in a small amount of water. Here is what mine looked like after just a few minutes.

 
I left them to soak for a week, then tested the colours to make sure they were nice and bright.

At playgroup the children did 'watercolour' paintings using droppers and the old markers, which I had kept after the soaking was finished. The thick crayola markers were great to paint with, and I felt like an extra good recycler for getting one last use out of them!


The colours turn lighter when dry but are still very pretty:


So don't cry over lidless or dried-up markers - gather them up and go make paint!

Monday, 26 August 2013

Playgroup Art & Craft: Foam brush and roller painting


Foam brushes and rollers provide an interesting change from the usual bristle brushes, and their shape and flexibility enable the artist to make so many different kinds of imprints on the paper - thick lines, thin lines, blobs, or even circles, if they figure out how to twist the brushes around. It helps if you provide paint spread thinly in rectangular containers so the children can swipe or roll up just the right amount instead of winding up with a piece of foam dripping with paint.


Lots of fun and lots of opportunities to talk about shape, line and colour. Washing a heap of paint-soaked rollers, however, is  not so much fun...

Friday, 16 August 2013

Playgroup Art & Craft: Liquidambar Lollipops


R is fascinated by the different leaves, seedpods and stones we find on our walks around our suburb. Just down the road is a massive liquidambar tree that drops hundreds of spiky seedpods on the footpath, so we collected a bagful to take to playgroup this week.


Inspired by this wonderful post on Casa Maria's Creative Learning Zone, I put out some pots of paint, each with a second colour swirled gently through it, and let the kids go wild with dipping the seedpods into the different paints. Some of the younger children dabbed and rolled the seedpods onto paper to make interesting patterns; for the older ones I stuck a thin bamboo skewer into each seedpod for ease of dipping, which had the benefit of turning the pods into lollipops! A shake of glitter provided the finishing touch.


At the end of the session we had lots of stunning multicoloured seedpods. R took hers home and - after a couple of days of drying - distributed them among her toys to 'eat'. Apparently, they were delicious!

Wednesday, 17 April 2013

Playgroup art & craft: Black paper painting


We have loads of black paper at playgroup, which seldom gets used. So now and then I like to mix up some whitish shades of paint and let the children paint on black for a change. The light colours on the dark paper provide a striking contrast, and some glitter adds a bit of sparkle.


On Monday we followed up our black paper painting with some cupcakes to celebrate R's 5th birthday:


I like to use this recipe, which makes delicious, light cupcakes that cook very quickly. Had to make a second batch the next day for a kindergarten birthday celebration - and R's party will be this weekend. Lots of baking going on around here!

Sunday, 31 March 2013

Painting with chocolate


K and R wanted to make Easter chocolates for family and friends. With little cups of melted, coloured white chocolate (just light colours, as too much water-based food colouring makes the chocolate seize up) and a set of paintbrushes I keep especially for this purpose, the children painted splodges, splatters and spots into chocolate moulds.


I froze the painted moulds for a short time, then poured melted milk chocolate into them before putting them back in the freezer til they were completely cold. It was such fun to see the coloured eggs pop out of the moulds!


With all this chocolate-making (accompanied, naturally, by a lot of chocolate-eating) and because our lovely neighbours were organising an Easter egg hunt, I wasn't planning to get the kids anything for Easter. I knew we'd have way too much chocolate as it was. But when my husband said he thought the kids would be terribly disappointed I caved in and made them each a little Easter gift using Vlijtig's bunny pouch tutorial.


This was late on Saturday night but it was a quick and easy gift, with a few chocolate eggs tucked inside. And because treasure hunts are all the rage around here, I made a series of clues for each child, which lead - eventually! - to their Easter present.

Saturday, 22 December 2012

Christmas playdough gifts, and a festive paper plate garland


There have been lots of 'last days' this week, fortunately not of the Mayan variety, but emotional nevertheless. Last day of kinder (actually that was last week - my memory is already suffering from silly season syndrome), last day of playgroup, last day of school... so of course there was much exchanging of candy canes, cards and chocolates. R and I made up some cute little packages of candy cane playdough, an idea I found on The Artful Parent - it is peppermint-scented playdough in candy cane colours, red and white. We cut ours into star shapes and they looked so appetising I thought it wise to include a card explaining what it was and warning the recipient not to eat it (I'm guessing at least a couple of R's friends had a nibble anyway).


At home we have been hauling out the decorations in preparation for christmas. R has been cranking out salad spinner masterpieces in such great quantities that we had enough to make a huge garland of them and still have some left over. And the homemade aesthetic goes perfectly with our cardboard christmas tree! 

Wednesday, 28 November 2012

Salad spinner painting


I had read about these paintings here, but had to wait til I found a salad spinner in an op shop before I could give it a try. Now I can't put the spinner away because R is totally addicted to painting with it! And I can completely understand why, because I've tried it myself and it really is fun. Have you noticed how children love randomness and surprise? This activity combines the pleasure of dropping or squirting paint onto a surface and the physicality of spinning the spinner with the excitement of an unpredictable (and very pretty) result. 

The process is incredibly simple, once you've laid your hands on a salad spinner. All you need are some paper plates that fit inside (I found the Black & Gold brand ones from IGA perfect for this, or you could cut down some larger ones), some paints (we used Radical Paints, which are easy to squirt or drip onto the plate) and - as recommended on Casa Maria's Creative Learning Zone - some hairgel. Yes, hairgel. Apparently it gives a nice sheen to the painting, and who am I to mess with her tried and true method? Anyway, R loves the smell. Once you have the equipment and supplies assembled, all you do is drop paint on the plate, put the lid on the spinner and turn it around.


For something that uses a lot of paint this is a surprisingly un-messy activity, provided you remember to put some newspaper under the spinner to soak up the paint that leaks out the bottom.


R likes to apply paint (and gel), spin, then examine the results and add more paint. She often repeats this process a few times before she declares the painting finished. We are going through the paint at a rate of knots, but then we have been doing this every day since I bought the spinner...

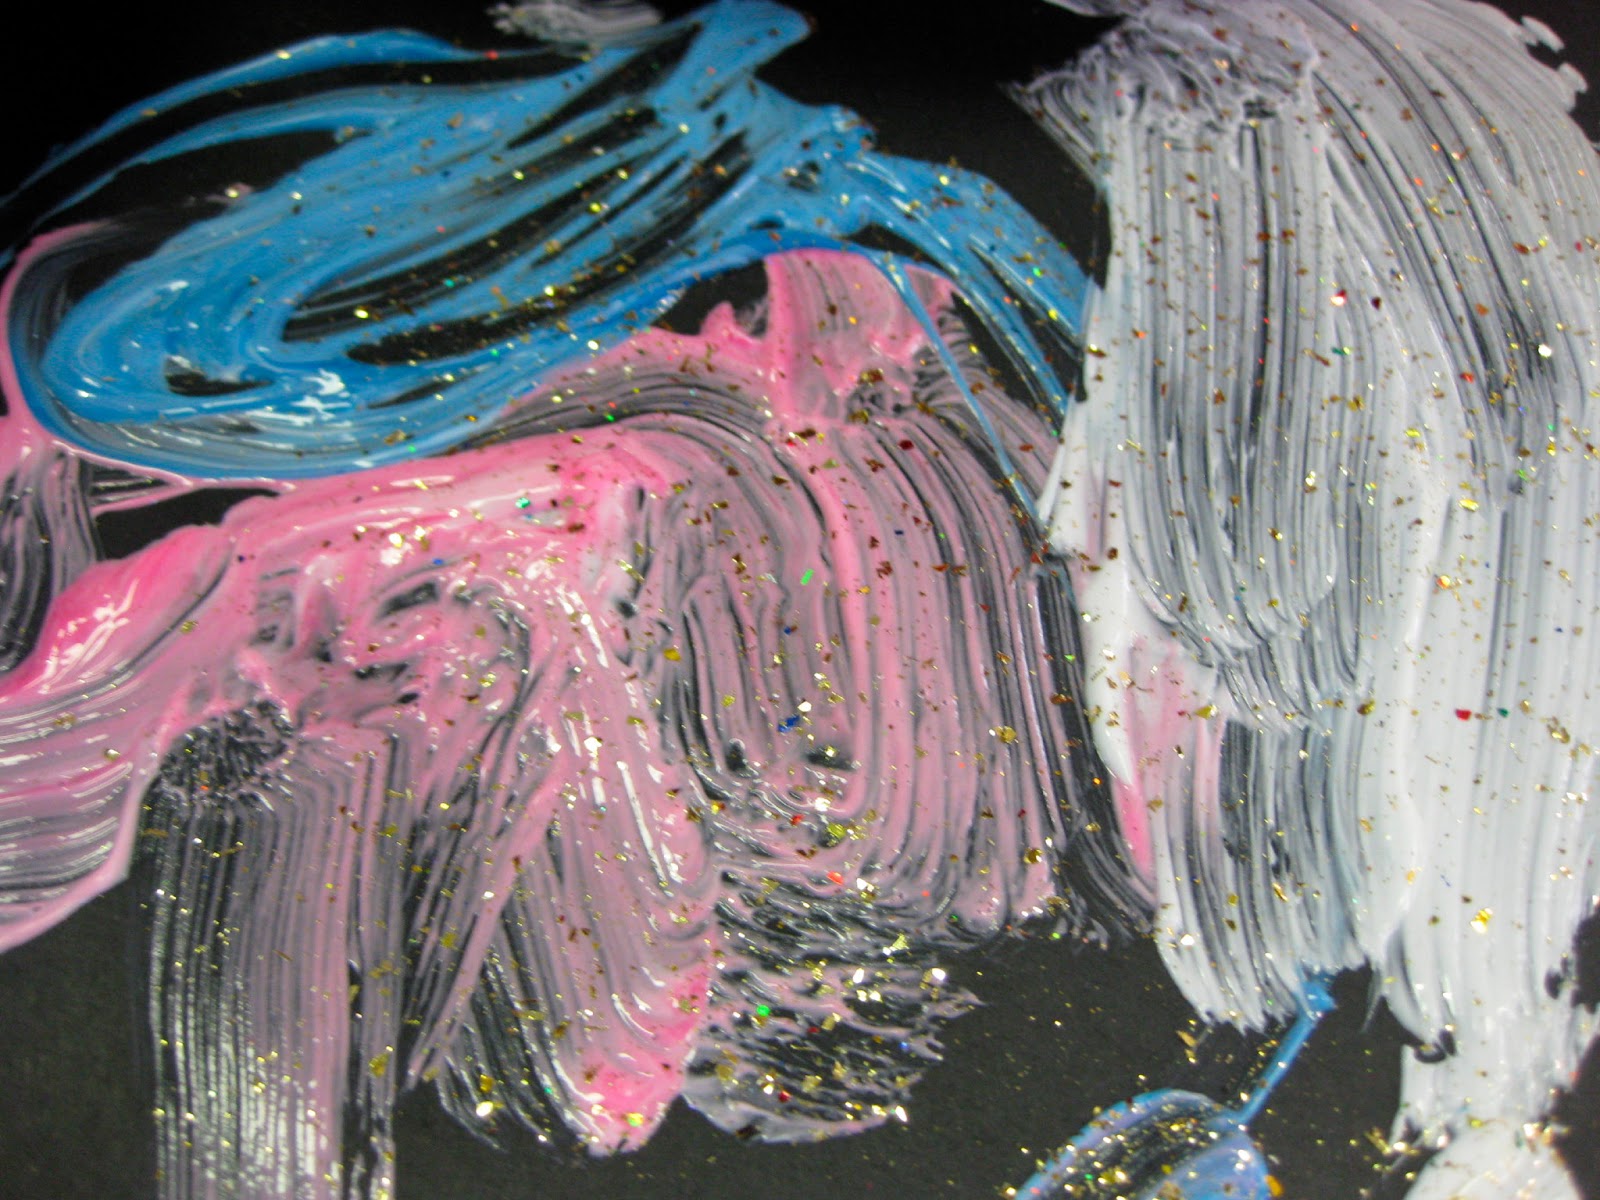
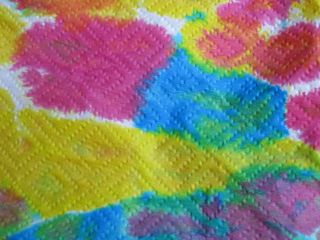
Here are some of the beautiful paintings by R (plus one by K):


I would love to do this with the kids at playgroup but we would need several spinners to avoid frustration. So for now it's just our at-home art activity - until I find another few spinners at the op shop!

Monday, 12 November 2012

Playgroup art and craft: Painting with droppers


A set of droppers (or 'pipettes'), some liquid food colouring and a roll of paper towel were all we needed to set up today's colourful art activity.


I diluted the food colours, testing them to make sure they were still vivid enough, and put them in some little jars (I thought they would be less likely to be knocked over than the lighter plastic paint-pots - I was wrong! Fortunately we put down lots of newspaper on the table first - made cleaning up a whole lot easier). We gave each child a piece of paper towel and watched as they flooded them with colours. The food colouring looks very dark when wet, but when dry has a luminous quality much like watercolour.

A special thing about this activity is that it it involves learning to manipulate an instrument - the dropper - as well as observing the fascinating effects of putting liquid colour onto a highly absorbent surface. The colours bleed into each other, creating beautiful rainbow blobs, spots and blotches. It is just magical.

Here are the wonderful paintings the children at playgroup produced today:


And here are some details from the paintings: